Lymphatic drainage massage is a therapeutic technique designed to stimulate the lymphatic system, promoting the removal of toxins, reducing swelling, and enhancing overall wellness. Performing this massage at home can be a simple and effective way to support your body’s natural detoxification processes. Here’s a detailed, step-by-step guide to help you get started.
What is Lymphatic Drainage Massage?
Lymphatic drainage massage is a gentle, rhythmic technique that encourages the flow of lymphatic fluid through the lymphatic system. This system is crucial for immune function and detoxification. The massage involves light, circular movements and specific patterns to aid the body’s lymphatic circulation.
Preparation
1. Gather Your Supplies
Before starting, make sure you have the following:
- A comfortable space: Find a quiet, comfortable place where you can relax.
- Essential oils (optional): Lavender or eucalyptus oil can be used to enhance relaxation. Always dilute essential oils with a carrier oil like coconut or almond oil.
- A towel or mat: Lay down a soft towel or mat to make your practice more comfortable.
2. Prepare Your Body
- Hydrate: Drink a glass of water before starting the massage to help flush out toxins.
- Warm-Up: Lightly stretch and warm up your body with gentle movements to increase circulation.
Step-by-Step Massage Guide
Step 1: Start with the Neck
- Position: Sit or lie down comfortably.
- Technique: Using your fingertips, gently apply light pressure to the base of your neck. Perform small, circular movements, moving from the centre of your neck outward towards your shoulders.
- Duration: Massage for 1-2 minutes on each side.
Step 2: Move to the Face
- Position: Sit upright with your head tilted slightly backwards.
- Technique: Use your fingertips to make gentle, upward strokes starting from the centre of your face and moving towards your ears. Use light pressure to avoid overstimulation.
- Duration: Spend about 1-2 minutes on your face.
Step 3: Focus on the Arms
- Position: Sit or stand with your arm extended or relaxed by your side.
- Technique: Starting at your wrist, use a gentle, upward sweeping motion with your fingertips towards your elbow and then your shoulder. Apply light pressure and work in a circular pattern.
- Duration: Spend 1-2 minutes on each arm.
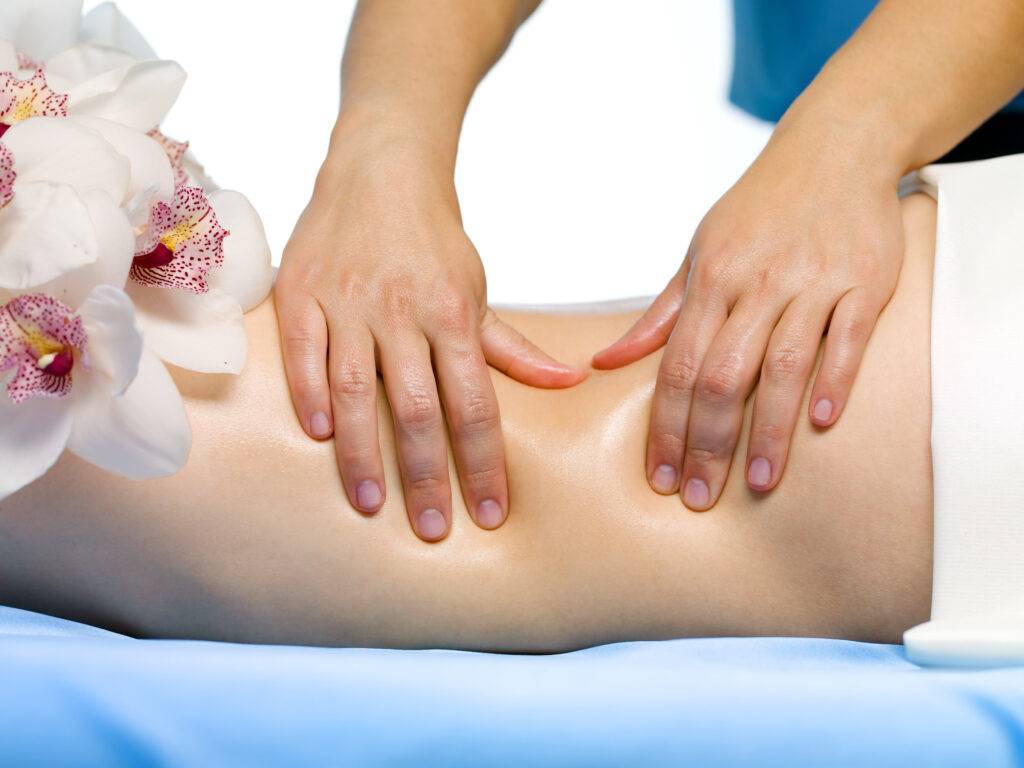
Step 4: Address the Abdomen
- Position: Lie down on your back with your knees slightly bent.
- Technique: Place your hands flat on your abdomen. Use a clockwise circular motion, applying gentle pressure as you move in the direction of your digestive tract. This helps stimulate lymphatic flow and supports digestion.
- Duration: Massage for 2-3 minutes.
Step 5: Work on the Legs
- Position: Lie on your back or sit with your legs extended.
- Technique: Starting at your ankles, use gentle, upward strokes moving towards your knees and thighs. Use circular motions and light pressure. Pay attention to any areas that feel tense or swollen.
- Duration: Spend 2-3 minutes on each leg.
Step 6: End with Deep Breathing
- Position: Sit or lie down comfortably.
- Technique: Take deep, slow breaths to help relax and support the massage process. Inhale deeply through your nose, hold for a few seconds, and exhale slowly through your mouth.
- Duration: Spend 1-2 minutes focusing on your breath.

Tips for Effective Lymphatic Drainage Massage
- Consistency: Perform the massage 2-3 times a week for the best results.
- Gentle Pressure: Always use light pressure to avoid stimulating the lymph nodes too aggressively.
- Stay Hydrated: Continue to drink water after the massage to aid in toxin removal.
- Listen to Your Body: If you experience any discomfort, adjust the pressure or technique accordingly.
Conclusion
Lymphatic drainage massage is a gentle yet powerful technique that can enhance your overall health and well-being.
By following these steps and incorporating this practice into your routine, you can support your body’s natural detoxification process and promote relaxation.
Remember to listen to your body and consult a healthcare professional if you have any concerns or specific health conditions.
For visual learners, check out our accompanying video tutorial [here] or refer to the illustrations below for a clearer understanding of each technique. Enjoy your journey to a healthier you!